Using Kusto functions in Power BI datasource
References
- Use Azure Data Explorer data in Power BI
- .create function command
- Azure Data Explorer
- Kusto Query Language (KQL)
How to
Let's create demo data for testing
For the purpose of testing and demonstrating, I will create a new table in my testing ADX cluster (everyone can create their own free cluster following Create a free Azure Data Explorer cluster). Let's call it UserAsset.
The table will have two fields:
User- typestringNumberOfLaptop- typeinteger
The script is as below.
.create table UserAsset
(
    User: string
    , NumberOfLaptop: int
)
Then, we will put some demo data into the table.
.ingest inline into table UserAsset <|
Max,2
Kome,1
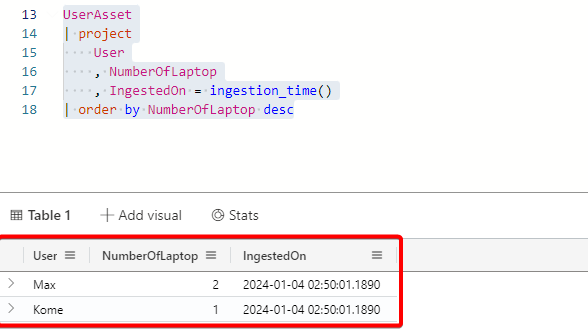
We will have the table and its data like below.
UserAsset
| project
    User
    , NumberOfLaptop
    , IngestedOn = ingestion_time()
| order by NumberOfLaptop desc

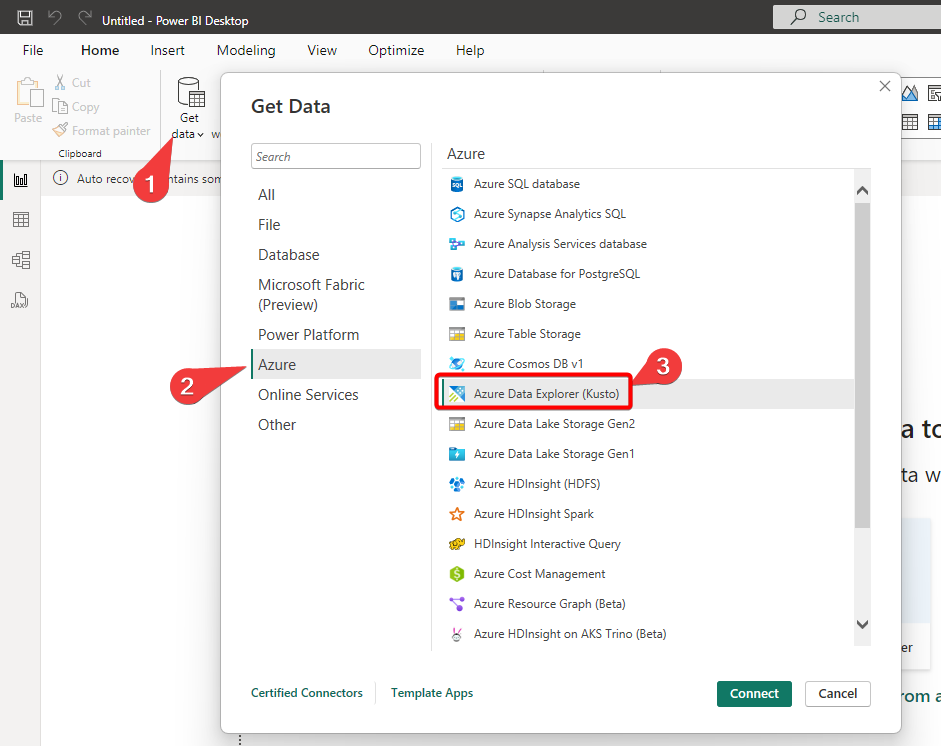
Get data from Azure Data Explorer (ADX) to Power BI (PBI)
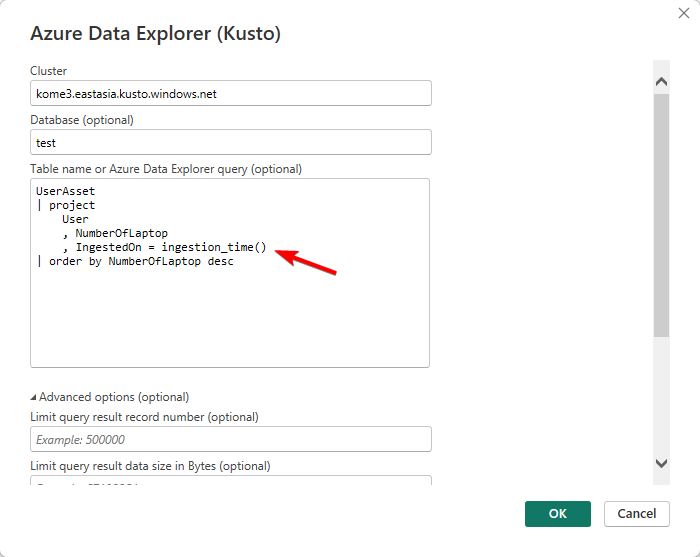
Simple enough, we then can use the very Kusto query (KQ) in PBI Desktop to get such data.

We can copy the query here.

Upon clicking OK and transform the data, we will have the data available. Notice that whole KQ will be put as plain text in the source.

Using Kusto function to simplify the process
Now, we can create a function to get data from ADX to PBI Desktop.
.create function GetDataForPBI() {
    UserAsset
    | project
        User
        , NumberOfLaptop
        , IngestedOn = ingestion_time()
    | order by NumberOfLaptop desc
}

Then, we can simply call the function from PBI to get the data instead of calling the whole query.

Enhacing data by altering the function
We can even passing parameters to the functions to alter the data. In this case, let's try adding some texts to User. My function would become as below:
- Taking a boolean input
_addText, it is defaulted tofalse - If
_addTextis true, add some text toUser - Else, leave
Useras it is
Notice that we will need to use create-or-alter because the function is existing already.
.create-or-alter function GetDataForPBI(_addText:bool = false) {
UserAsset
| extend
    User = iff(
        _addText
        , strcat(
            User
            , "-AddedText"
        )
        , User
    )
| project
    User
    , NumberOfLaptop
    , IngestedOn = ingestion_time()
| order by NumberOfLaptop desc
}
Then, we can call the function from PBI and add the parameter to see how the data is reflected.

We can even add new columns from ADX and the new data will be reflected on PBI. For example, I will add a column (with emoji) to indicate someone is owning more than one laptop.
My function will become as below.
.create-or-alter function GetDataForPBI(_addText:bool = false) {
    UserAsset
    | extend
        User = iff(
            _addText
            , strcat(
                User
                , "-AddedText"
            )
            , User
        )
    | project
        User
        , NumberOfLaptop
        , IngestedOn = ingestion_time()
        , OwningMoreThanOneLaptop = iff(
            NumberOfLaptop > 1
            , "💻+"
            , ""
        )
    | order by NumberOfLaptop desc
}
Upon refreshing the source, we can see the new column coming up.

