Electronic Reporting (GER) From Scratch part 1 Importing a text file
In this Post we are going to see the step by step of how to configure everything needed to do an importing process of a text file into the F&O tables without writing a single line of code, using GER (Electronic Reporting):
D365FO Electronic Reporting (GER) From Scratch: Importing a text file YouTube video
But, as I always like to do, In this post you have the shortcut version for lazy/hurried professionals. Well, actually I am using snapshots here to show the different steps as a complement to the video, so you don’t have to go back and forward if you want to follow the post as a guide. Also I save you the pain of hearing me again talking during more than half an hour… But the info here in the post might not be completed without the video, so if you have any doubt in a step, go and check the part of the video related with that part, I put links in every step which will get you to the exact part in the youtube video, hope you enjoy it!
The Requirement
We want to import and create into a header-lines F&O Tables two text files, without writing a single line of code (In the post we’ll only see the first one, you can see it in the below image):
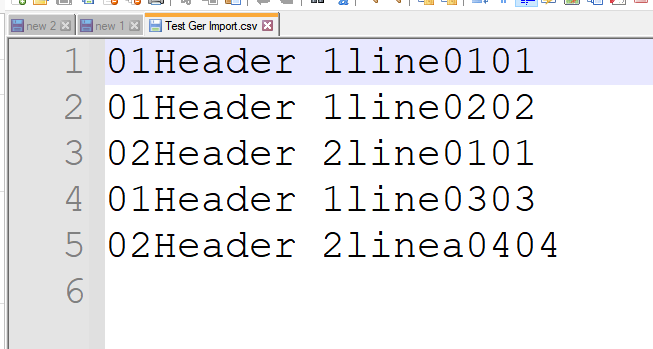
Note that the fixed position and length of the fields conform our delimitation criteria for parsing the values
The Electronic Reporting import flow Overview
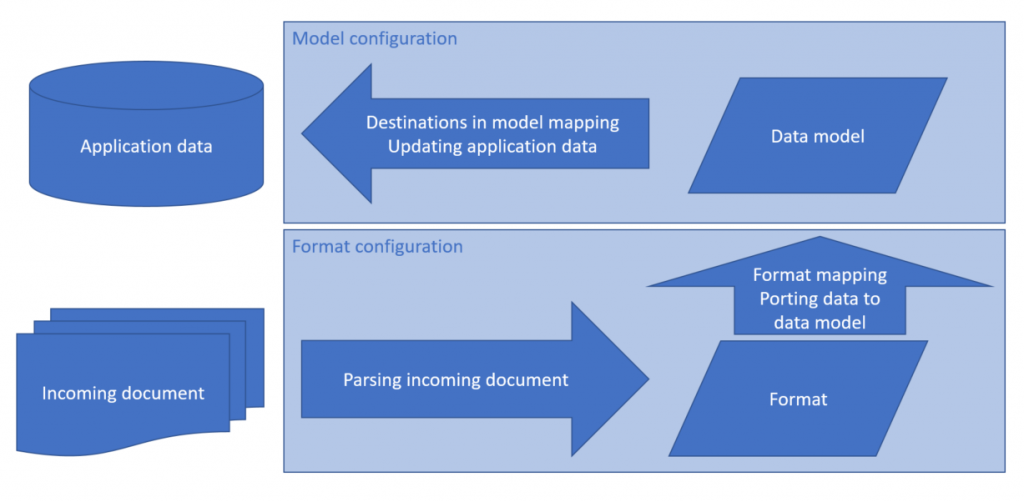
The Data Model will be our “Data contract”, I.E: the structure with the critical data we want to insert into the tables. This information will be fulfilled by the format, who will parse the document text and map it with the DM. Once the DM is populated it will, through the Model mapping to destination, insert the information into the actual F&O Tables. So the step by step would be:
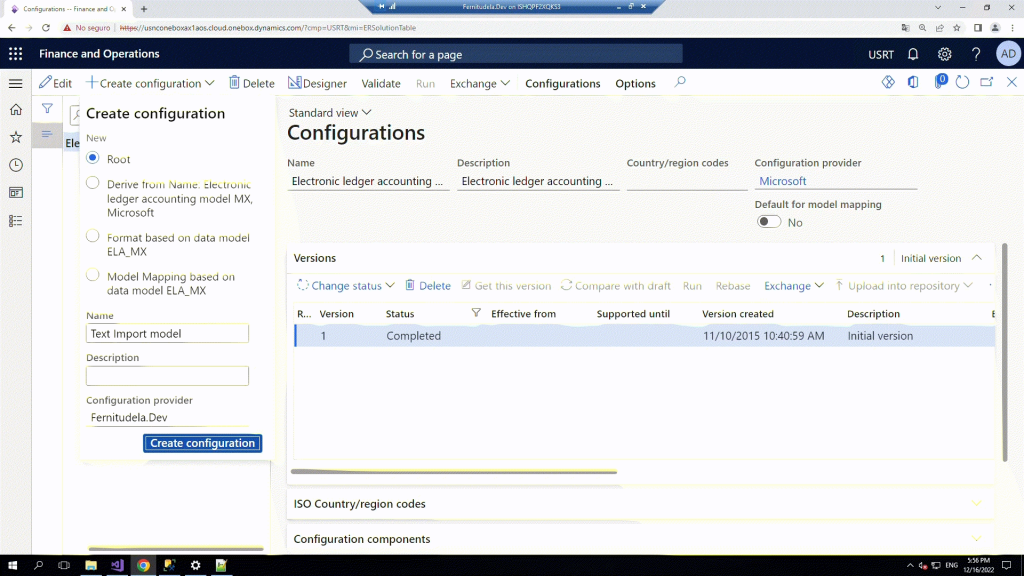
Step 1: Create the Data Model.
We are going to create a simple Data Model, in the Electronic Reporting workspace:
Click on Reporting Configurations, and create a new Root, that will be our Model.
Click on designer

And create the diferents nodes until you have a data model like this:
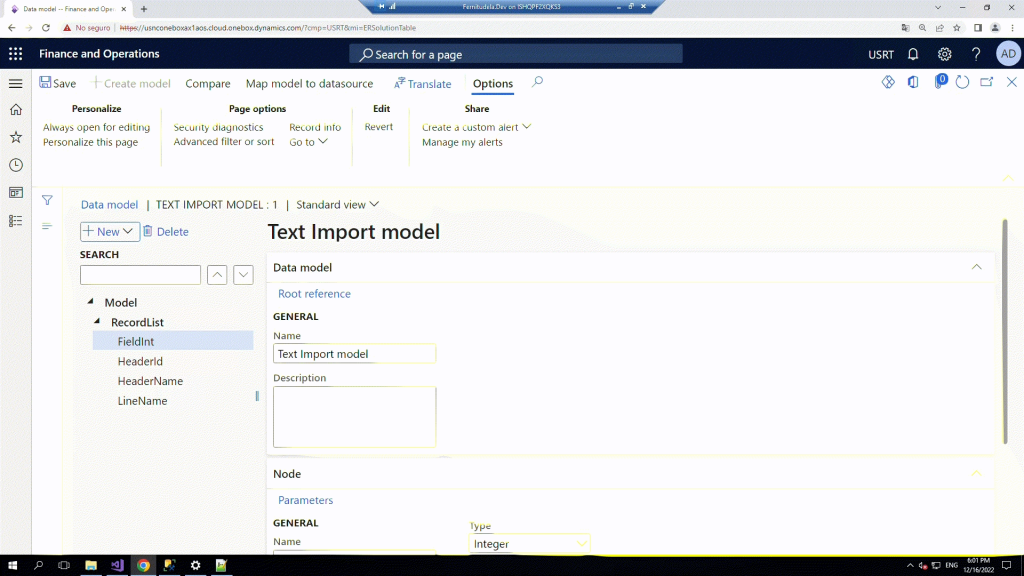
Save, go back to the previous form and complete the data model there:
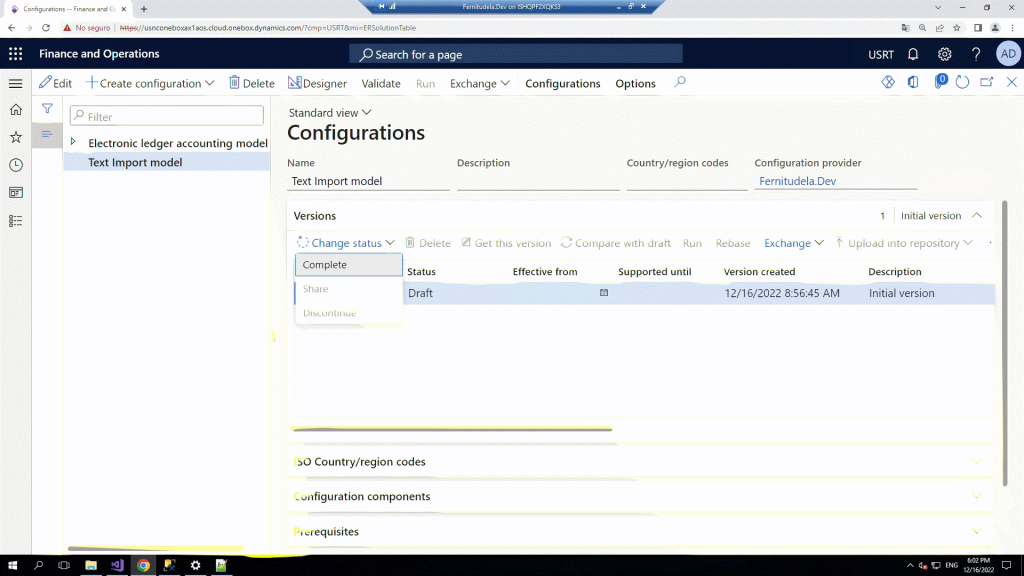
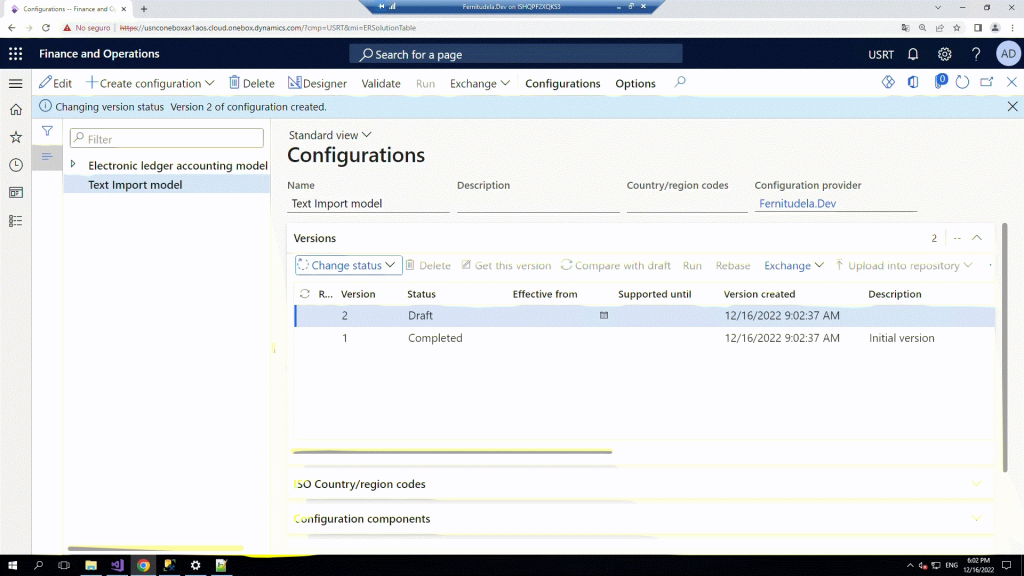
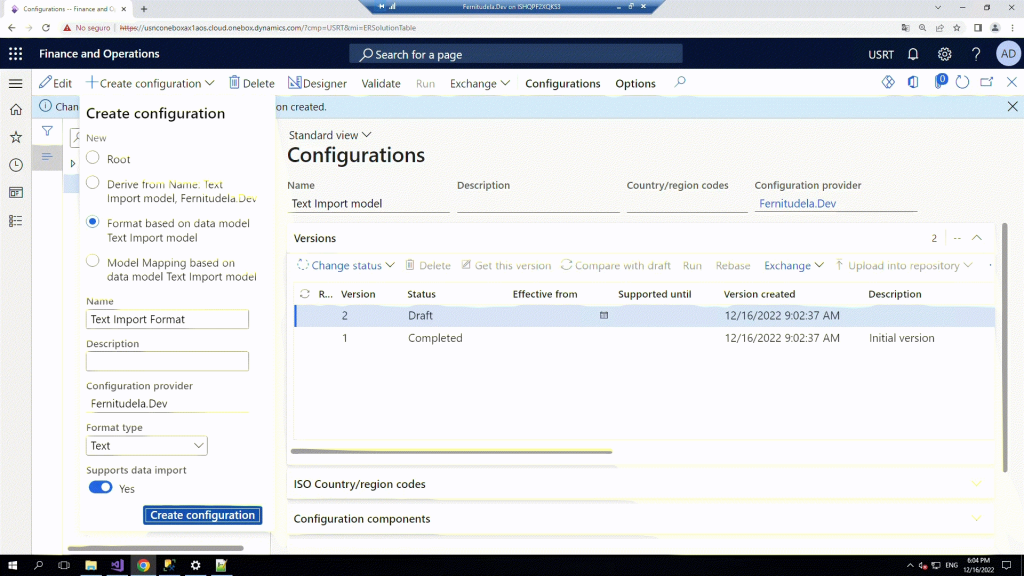
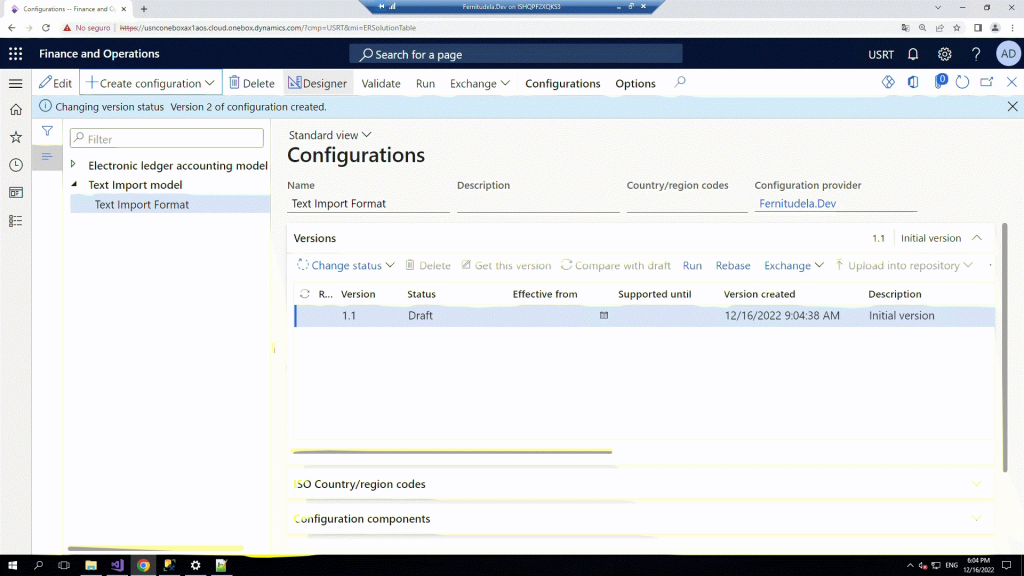
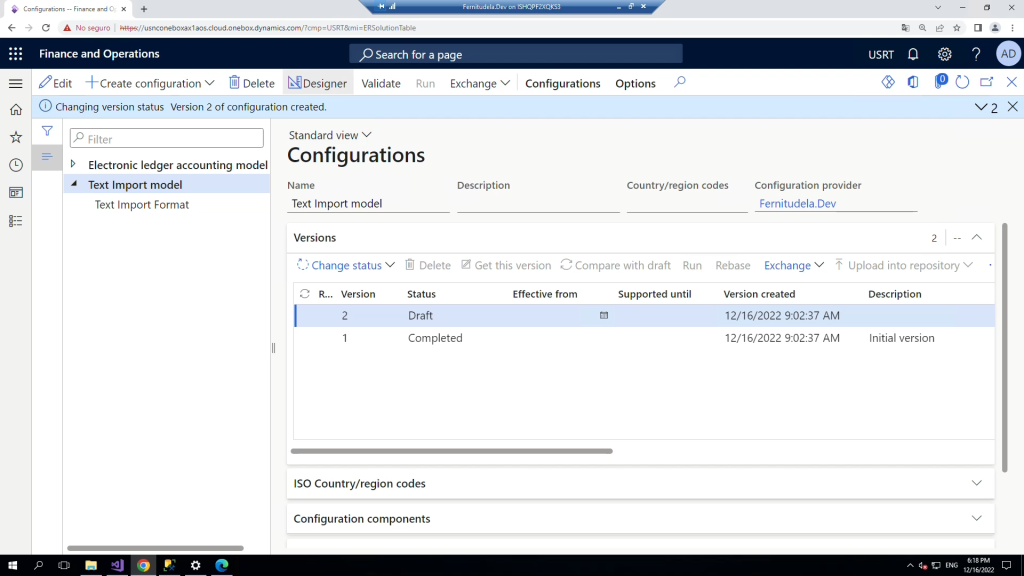
Step 2: Create the Format
Once our model is completed, let’s create a format based on it.
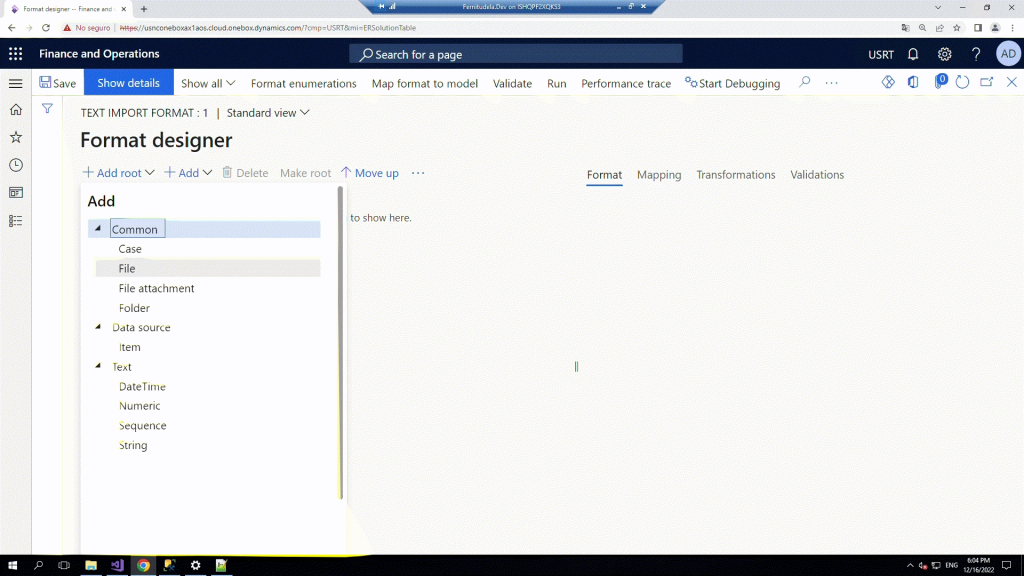
And go to the designer:
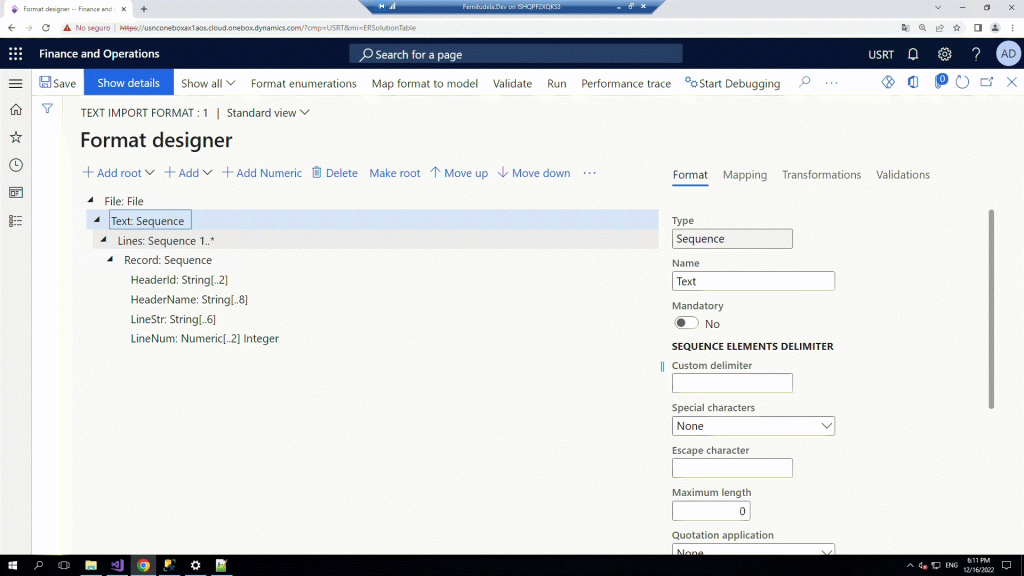
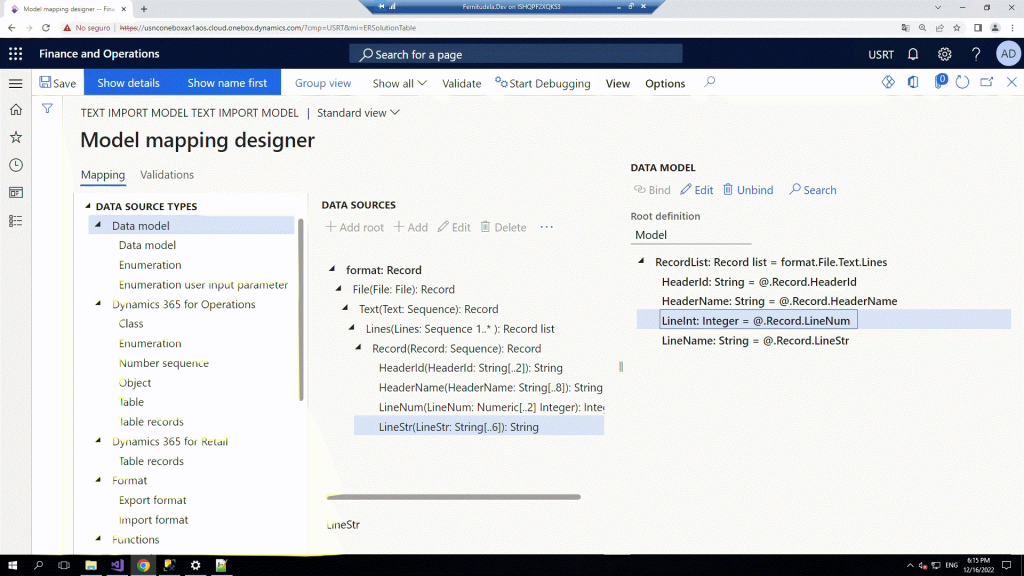
There you will have to add a File root, and 3 sequences (Text, Lines and Record). Note that in the Lines sequence we are putting the multiplicity one or more and the delimiter character New Line .
Under the last sequence we’ll add our fields, in our case 3 string fields and a numeric one. Note that this example is based in the fixed position and length text file, so we are setting the property maximum length to our fields (2, 8, 6 and 2 respectively). For the semicolon delimited example file, we won’t have to put the maximum property in our fields, but the ; character as a custom delimiter in our sequence “Record”.
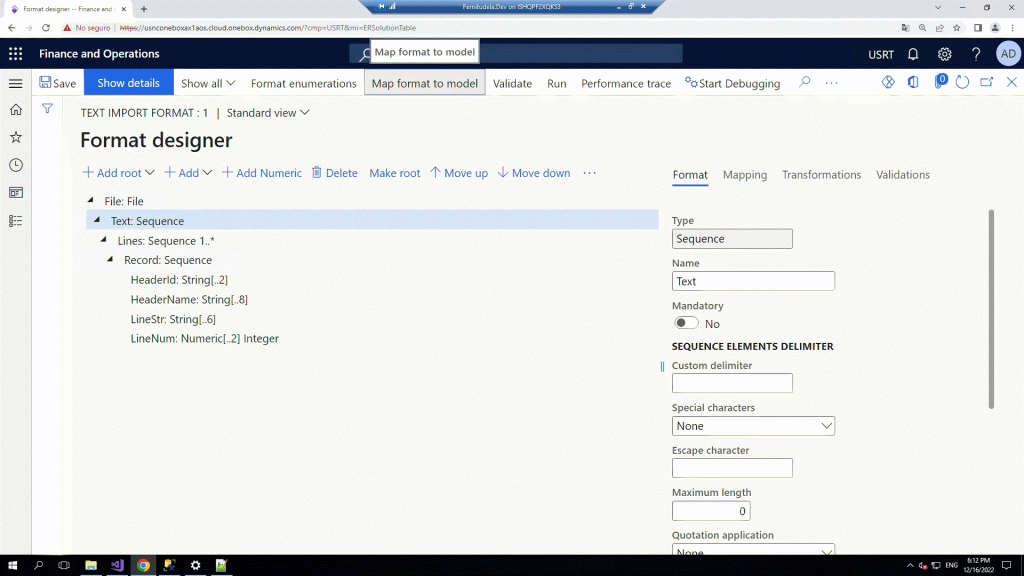
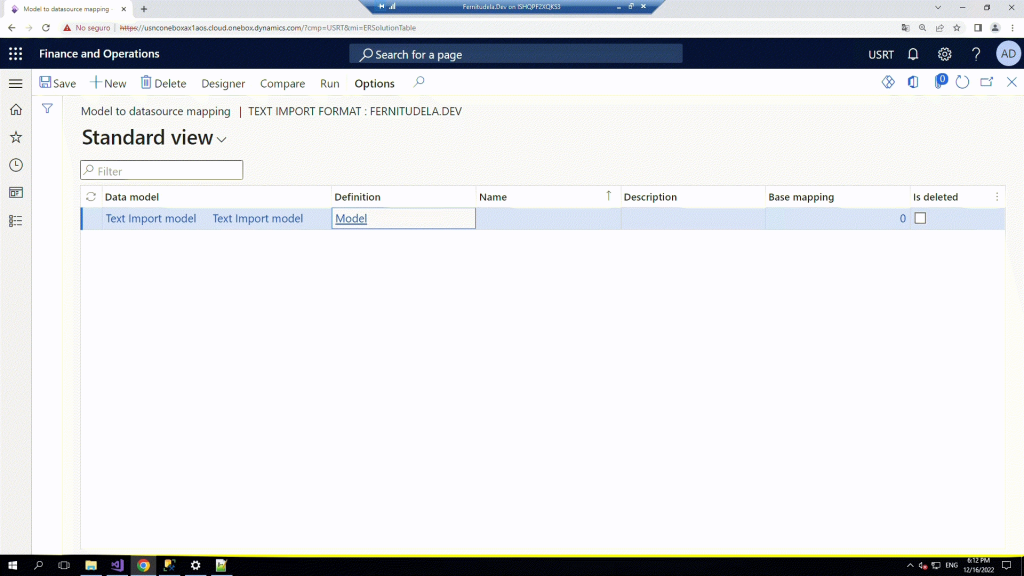
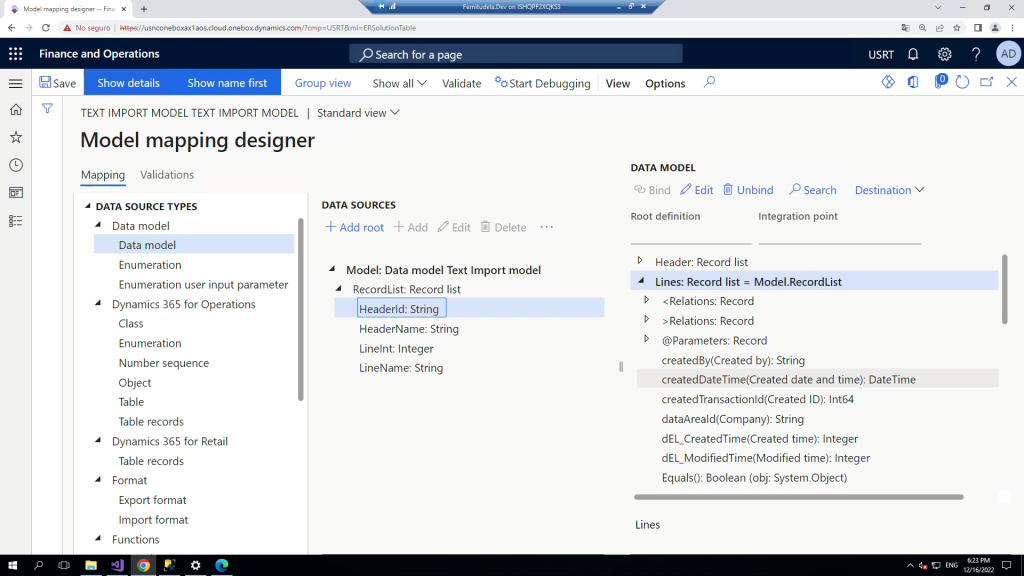
Step 3: Map format to model.
After we have our format, we need to map the format to our Model, clicking in the button of the action pane Map Format to Model:
Create a new record setting the required information and click on designer
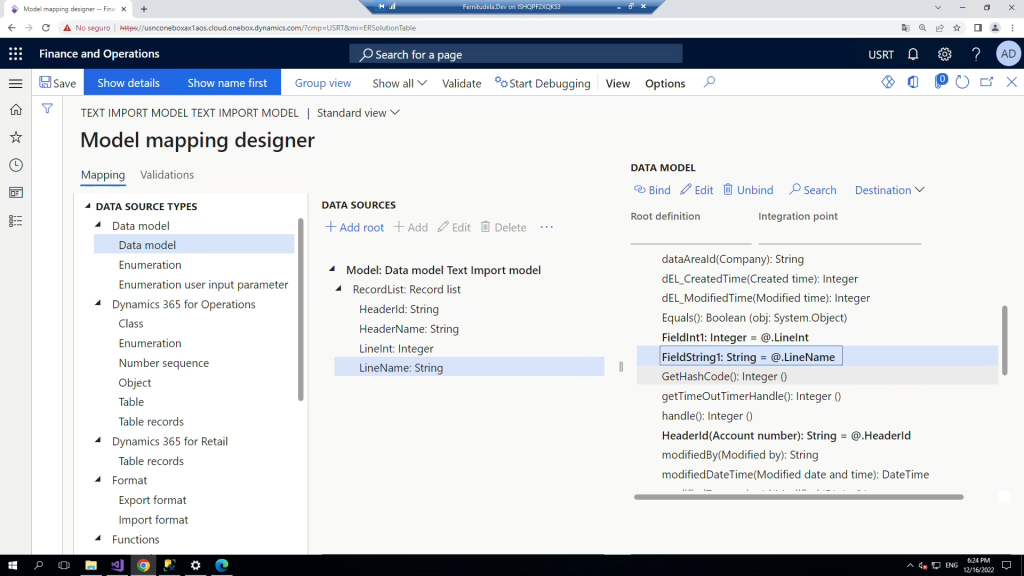
In the designer you’ll see three columns, the second one is the format column and the last is the model column, so now we have to set the cursor in the related records of those columns and click on bind. That will bind them and will constitute the mapping between them, you should bind the different nodes as they are shown in the image:
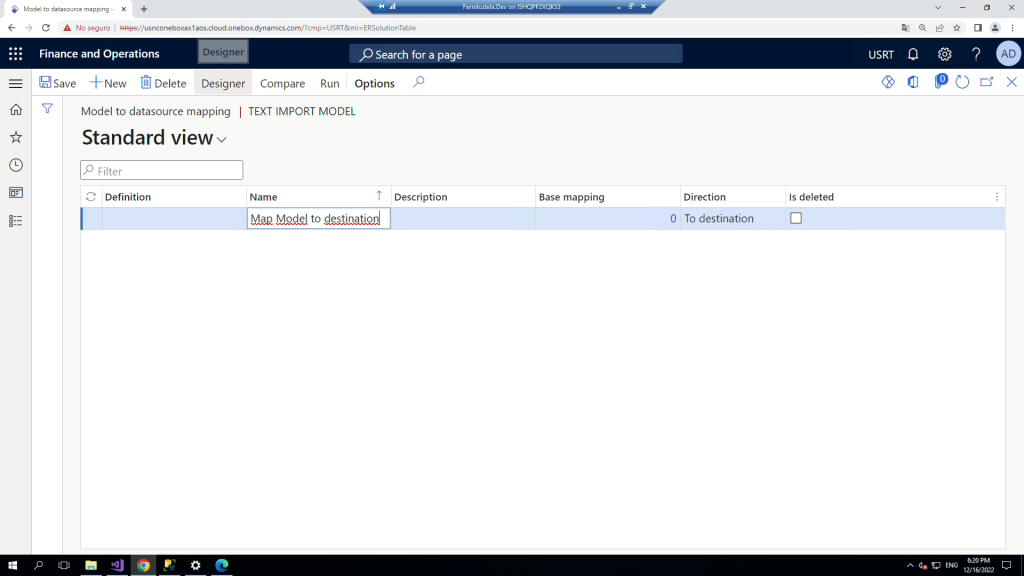
Step 4: Model Mapping to Destination
Now, we have the format (which is the one that parses the info from the file) mapped with our Model. The only thing left is the model mapping directly with the F&O Tables. So, let’s go to the Model, designer:
Map model to datasource:
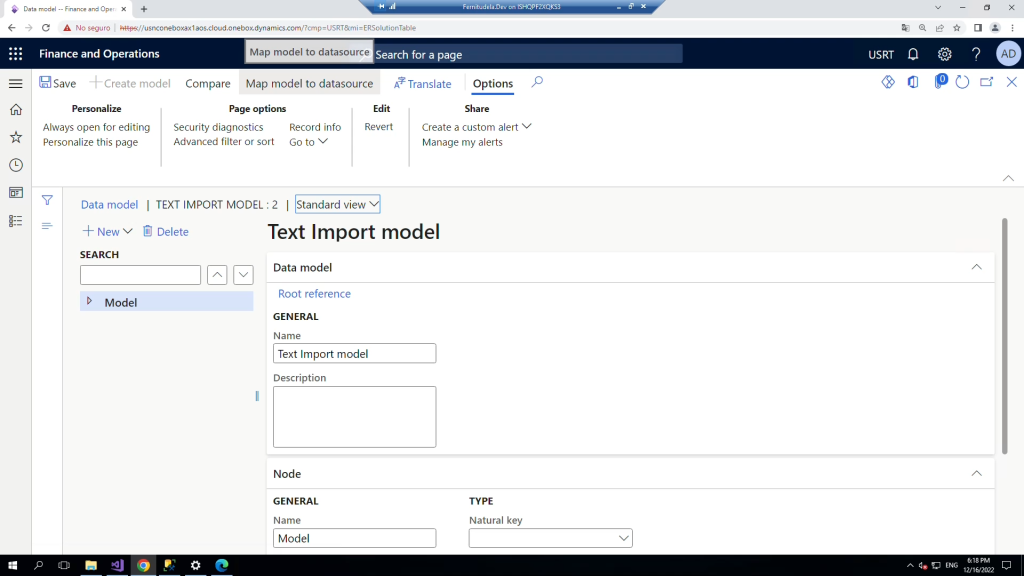
Create a new model mapping, and make sure you put the direction To destination (because it is an import process), and go to Designer
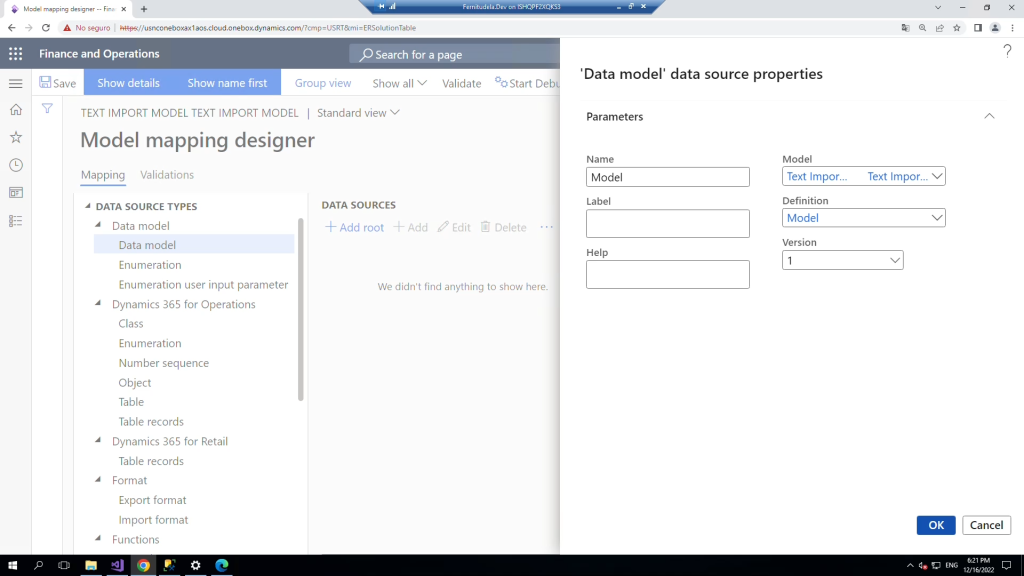
Now you’ll have to set the cursor in the object you want to add from the first column (in our case our created Data Model), click on add root and fulfil the required info:
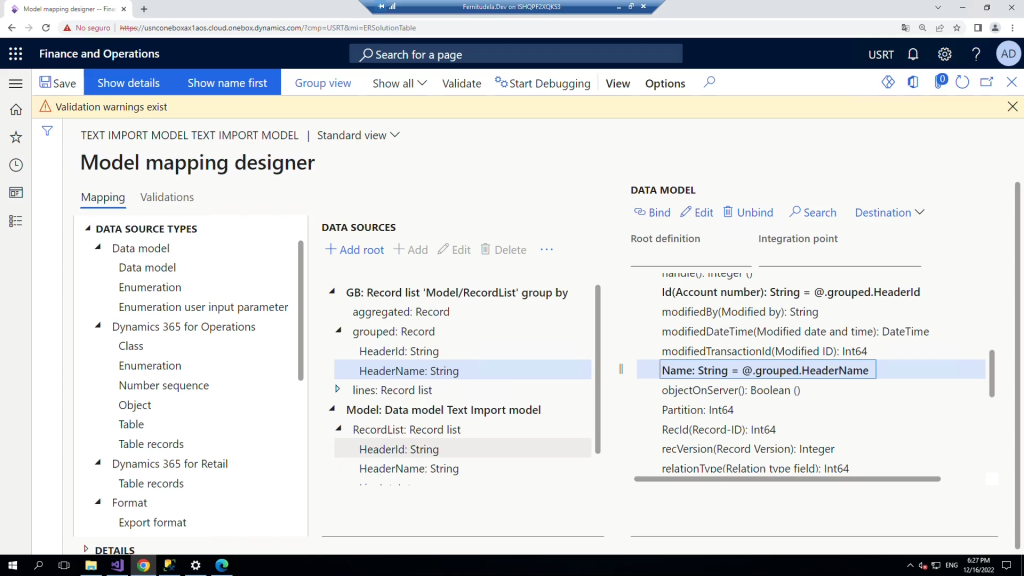
After that, we’ll have to add the destination, (in my example the tables Header and Lines), with the button Destination in the third column:
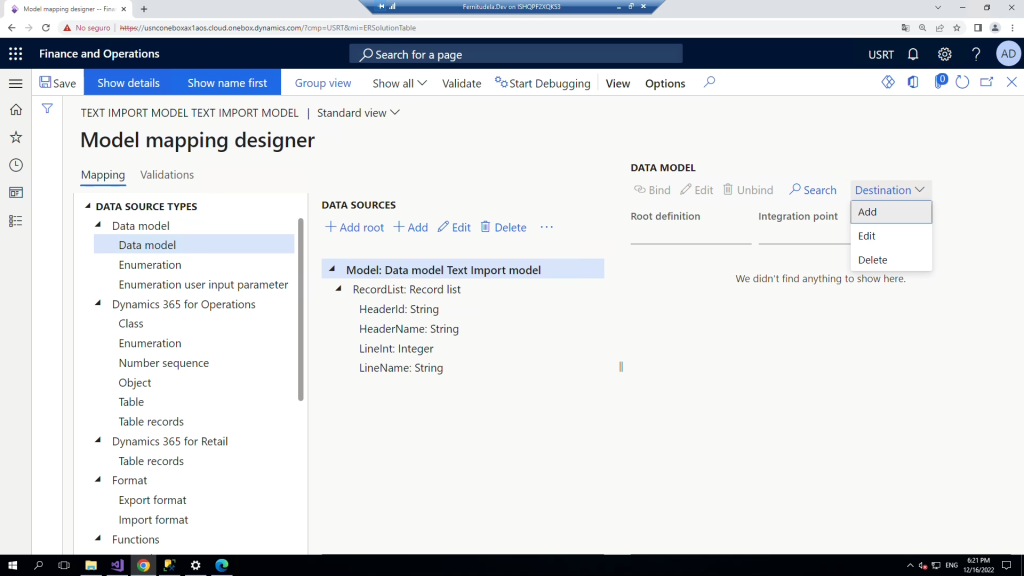
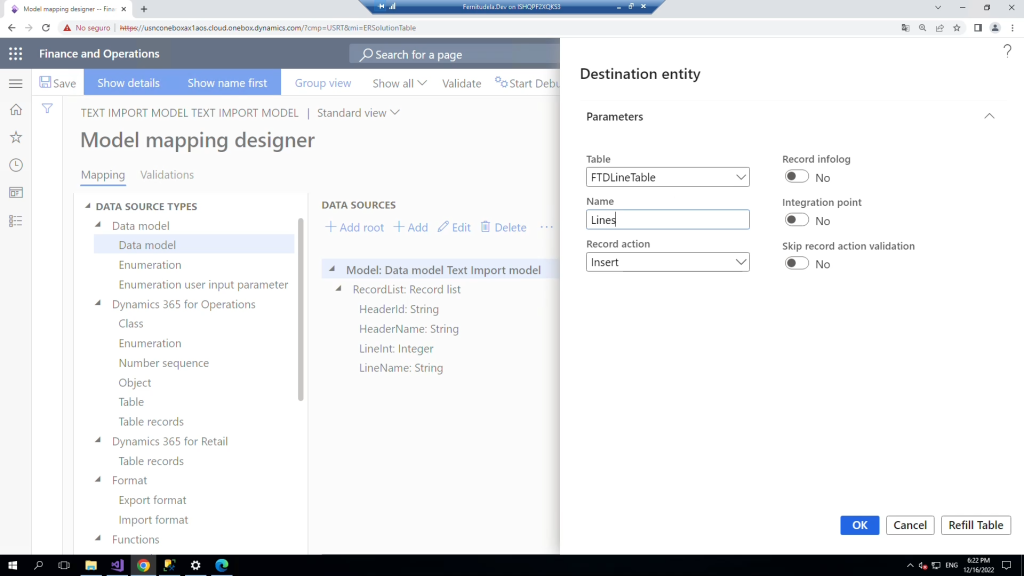
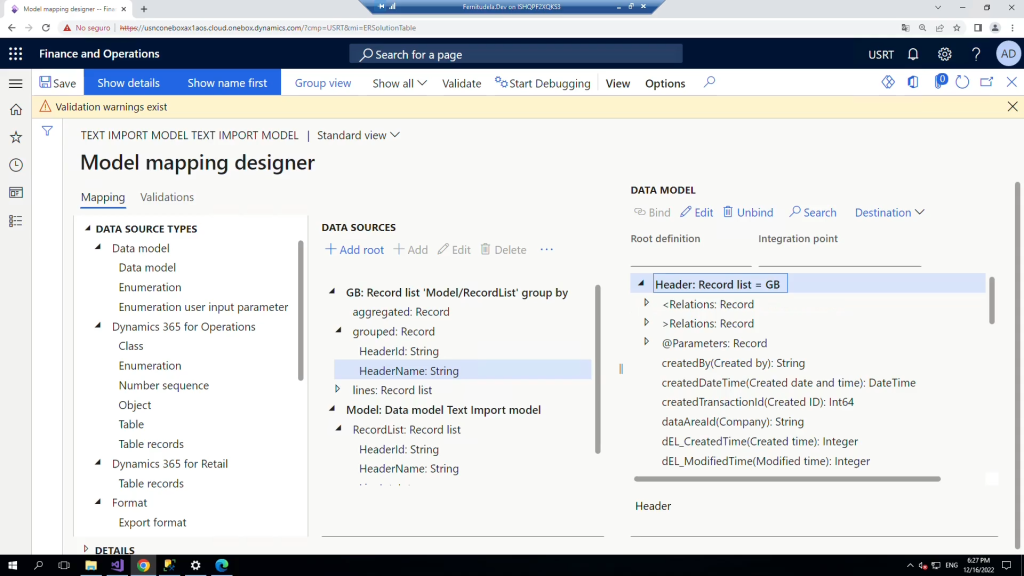
Once you have added the destination, you map your model directly with your tables. In our case, the mapping is direct with the lines.
In addition, to be able to insert the lines into the header without having duplicated errors (because of the format of our imported file), It’ll be needed to add a group by to avoid those duplicities. So click on the Goup by node in the first column and add it (for example at the root level)
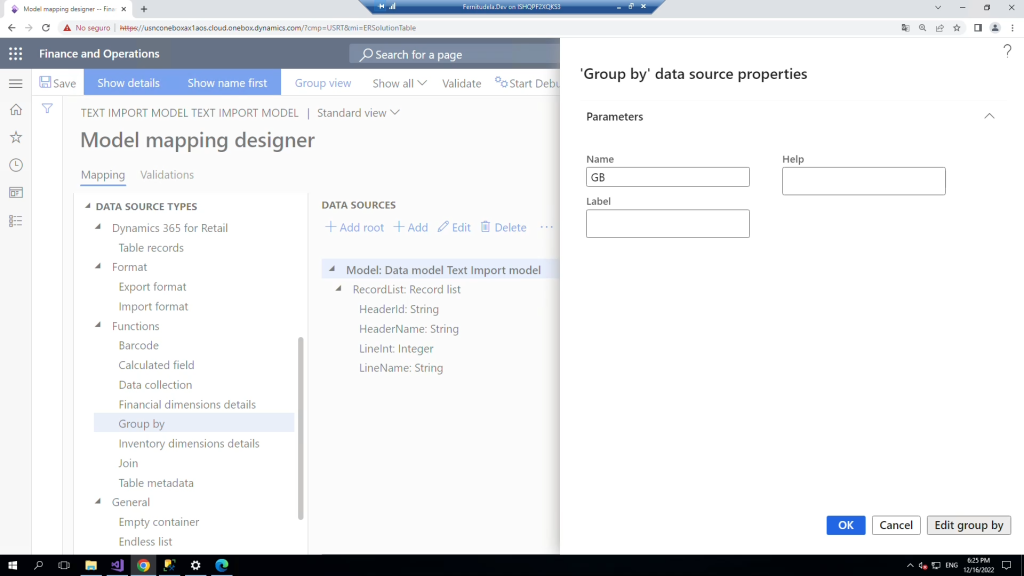
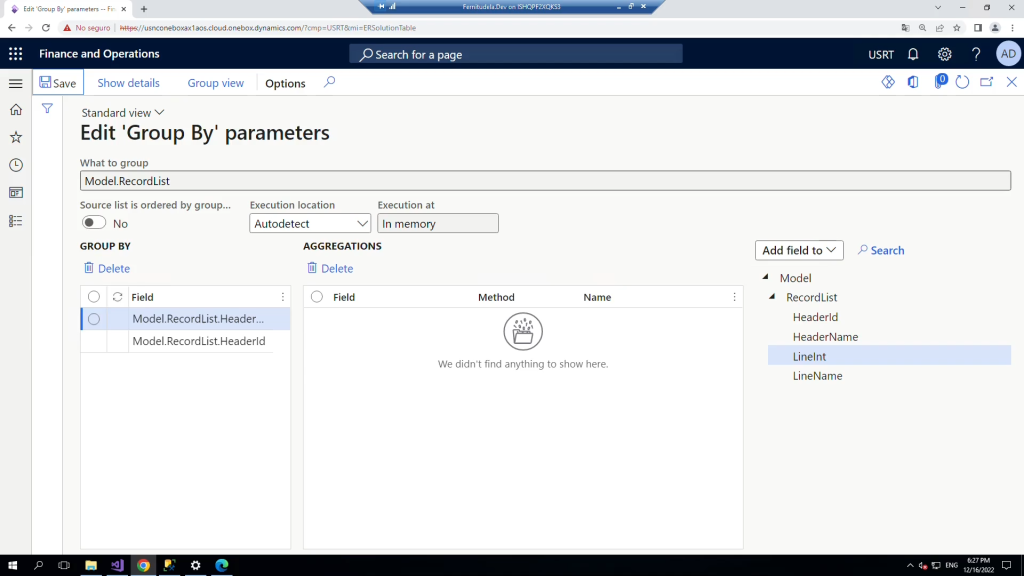
Click on Edit Group by and set your group by up, selecting what to group and for what fields.
Now, we can map our new group by with the header record list, and the respective fields
Step 5: The Glory
DONE!! now we can test it, after saving the newly created model mapping to destination, and going to the previous form, click on Run, select the file:
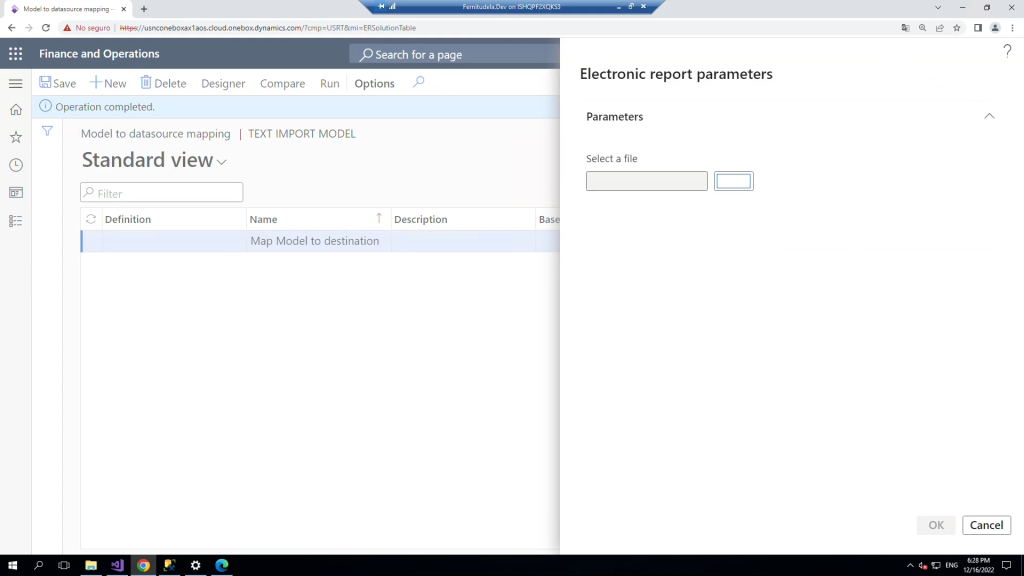
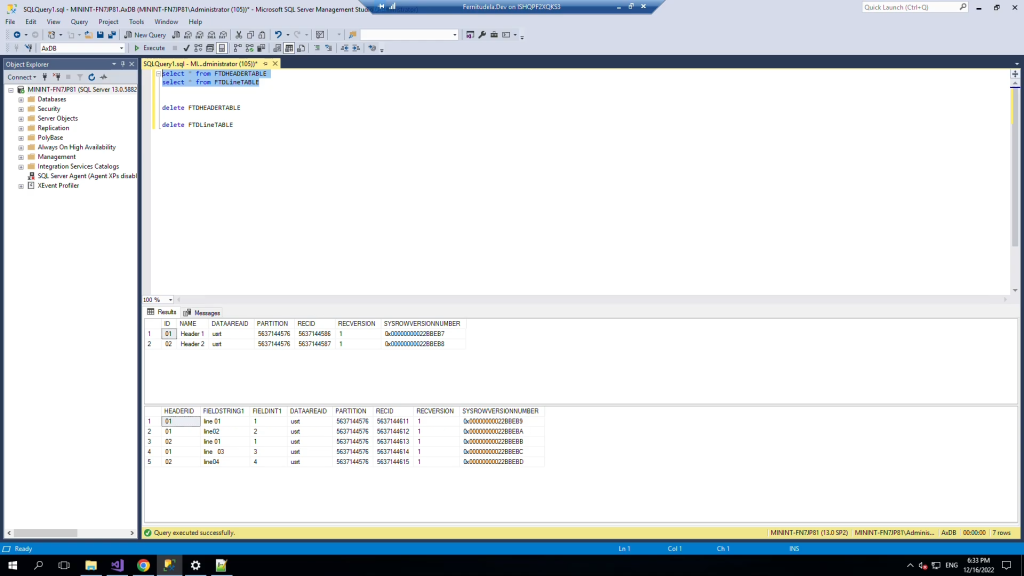
Et Voilà!!!!! records inserted successfully!!!

If you liked it, or at least learned something here, please go and check the Part 2: Exporting an XML.