Enable Power BI Embedded in cloud hosted Dynamics 365 finance and operations 8.0 +
In this article, we will go through how to enable Power BI embedded in Dynamics 365 finance and operations version 10 in a cloud-hosted environment (customer managed). From the previous version of FinOps, Power BI embedded uses workspace collections at Azure to display the report, since the workspace collections have been deprecated, Microsoft also disables power BI embedded in cloud-hosted environments. You can only enable Power BI embedded in multiple boxes environments like UAT and production.
1. Create workspace collections
Although the workspace collections have been deprecated, it does not show in the Azure portal and you could not create it by using the Azure portal, but you can create and manage by using Azure CLI.
Open PowerShell and run following
// Allow policy
set-executionpolicy remotesigned

//Install AzureRM
Install-Module -Name AzureRM -AllowClobber

// Login to Azure using credentials
Login-AzureRmAccount

// select the subscription ID
Select-AzureRmSubscription -SubscriptionId $subscriptionId

$ResourceGroupName = “MaxWorkspaceCollections”
$Location = "Southeast Asia"

// Create workspace collections
New-AzPowerBIWorkspaceCollection -ResourceGroupName $ResourceGroupName -WorkspaceCollectionName $WorkSpaceCollectionName -Location $Location

// Obtain the access keys
Get-AzPowerBIWorkspaceCollection -ResourceGroupName $ResourceGroupName -name "<yourWorkspacename>"
2. Create AxWD Azure SQL Database
We must use the Azure SQL Database for the AxDW in Dynamics 365 finance and operations cloud-hosted environment. Please follow this document to create Azure SQL DB.
We need at least 5 GB storage for Database, for Pricing tier, I will recommend using from S1, and name the database AxDB
This is my DB property

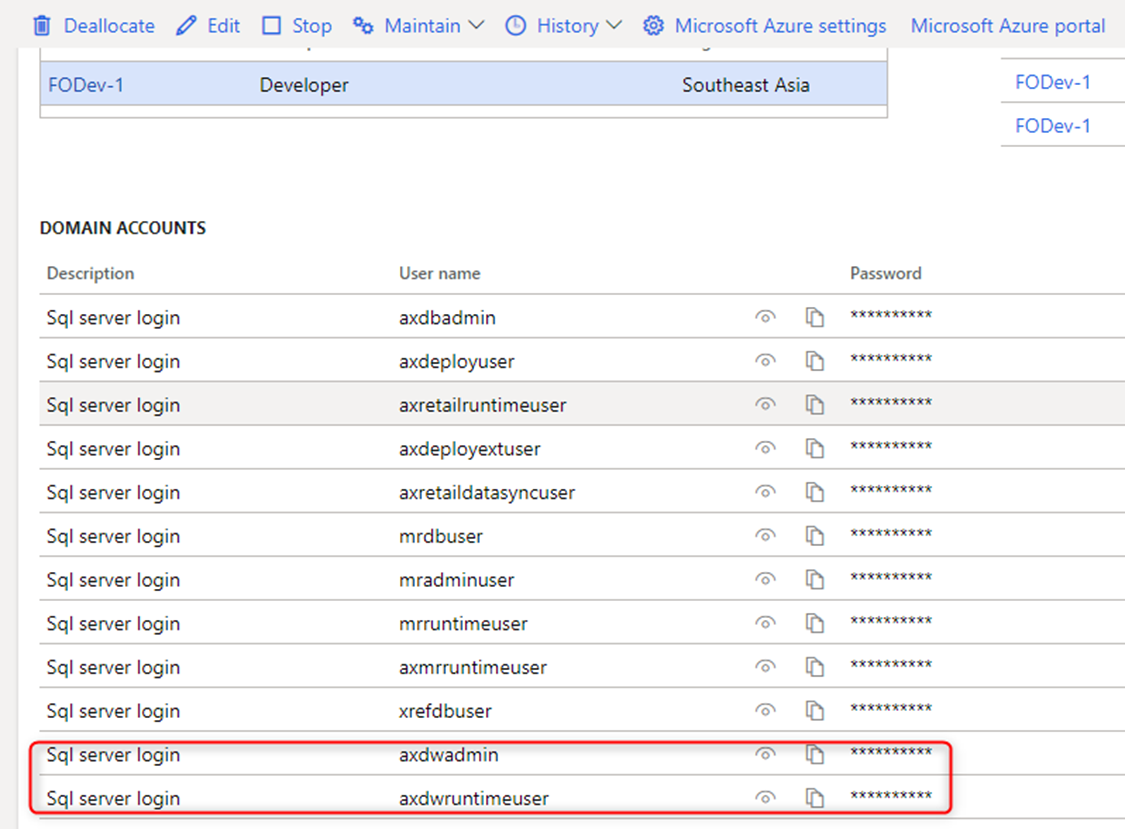
I’m using Premium tier because I want to use the Columnstore Clustered indexes in Database; it helps performance a little bit faster. Once you have the Azure SQL Database, we can use SSMS to connect to the database and create a user for that DB. You need to get the user and password information in LCS, where the cloud-hosted provisioned.

Use Master
CREATE LOGIN axdwadmin WITH PASSWORD = '';
CREATE LOGIN axdwruntimeuser WITH PASSWORD = '';
Use AxDw
CREATE USER axdwadmin FROM LOGIN axdwadmin;
CREATE USER axdwruntimeuser FROM LOGIN axdwruntimeuser;
ALTER ROLE db_owner ADD MEMBER axdwadmin;
ALTER ROLE db_datareader ADD MEMBER axdwruntimeuser;
3. Configuring to enable Analytical Workspaces and Reports
What you are having now
Power BI Embedded Service details from step 1
Workspace Collection Name: The name of the Workspace Collection created when deploying the Power BI Embedded Service
Access Key1:  The secret key #1 used to access the Power BI Embedded service
Access Key2:  The secret key #2 used to access the Power BI Embedded service
Entity Store Database Service details from step 2
Database name:  AxDW
Server name:  Azure SQL Server name (*.database.windows.net)
Server admin login:  Username supplied in the SQL Server settings
Password:  Account password supplied when configuring SQL Server
Run Notepad in administrator mode, open web.config from K:\AOSService\webroot in Dynamics 365 for finance and operations environment.
Update the configuration settings:
<add key="BiReporting.DW" value="[Database name]" />
<add key="BiReporting.DWServer" value="[Server name]" />
<add key="BiReporting.DWRuntimeUser" value="[Server Admin login]" />
<add key="BiReporting.DWRuntimePwd" value="[Password]" />
Update the Power BI Embedded Service configuration settings:
<add key="PowerBIEmbedded.AccessKey" value="[Access Key1]" />
<add key="PowerBIEmbedded.AccessKey2" value="[Access Key2]" />
<add key="PowerBIEmbedded.ApiUrl" value="https://api.powerbi.com" />
<add key="PowerBIEmbedded.IsPowerBIEmbeddedEnabled" value="true" />
<add key="PowerBIEmbedded.WorkspaceCollectionName" value="[Workspace Collection Name]" />
After that, you need to restart IIS and Dynamics 365 for finance and operations batch service
4. Refresh data entity store to AxDW
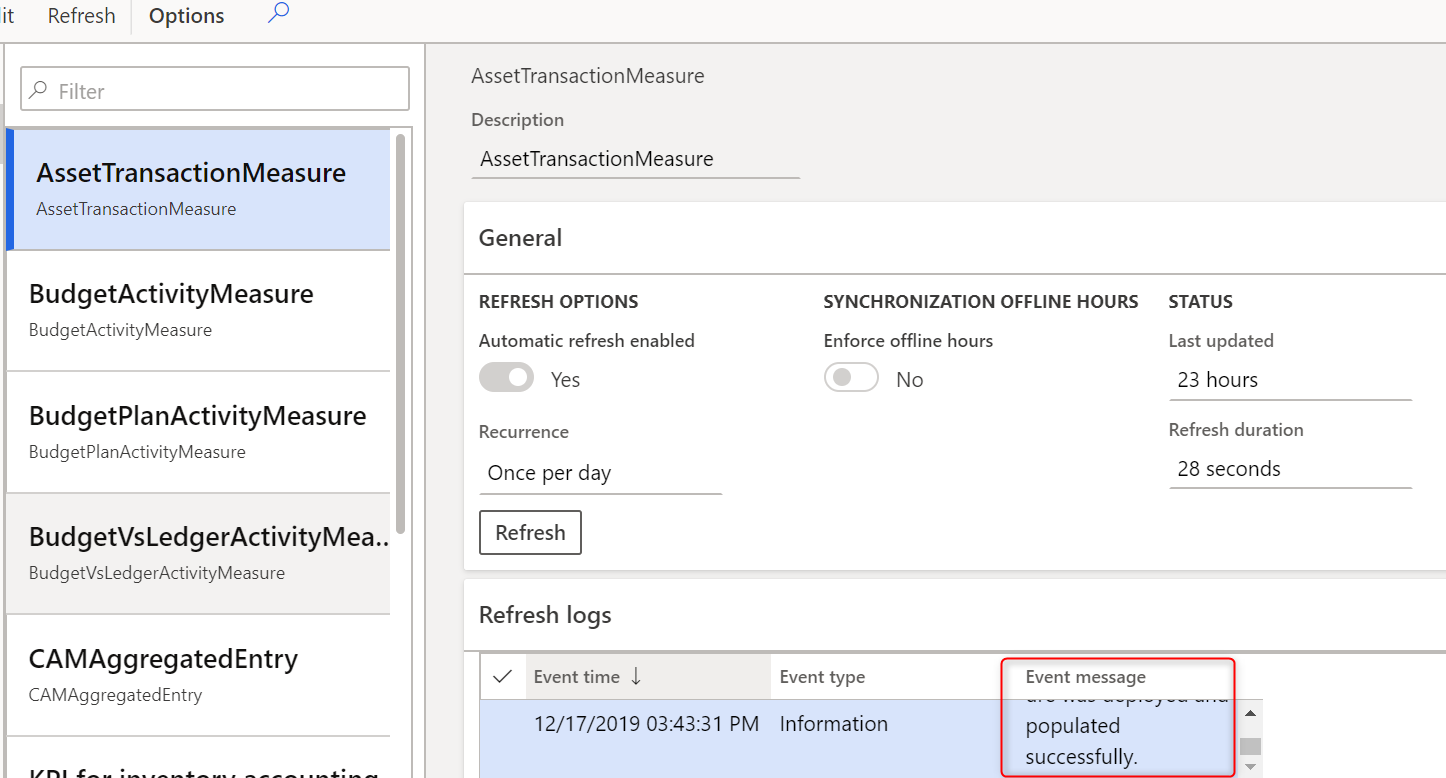
In Dynamics 365 for finance and operations, navigate to System administration > Setup > Entity Store, select all the entity store, and click refresh.
Allow this process to complete in the background (~5 - 10mins). You can monitor the status of the background process using the Batch jobs.
Once the Progress is made, you can check the event message in the same form to make sure the refreshing working properly

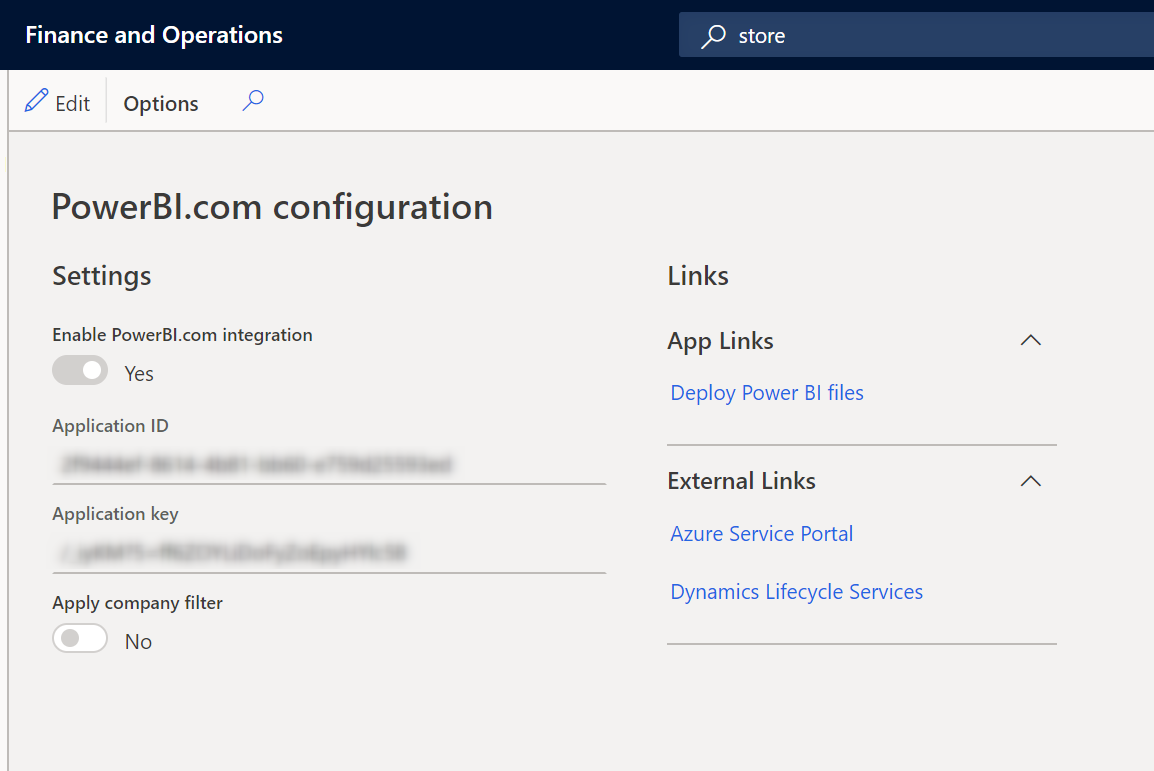
5. PowerBI configuration (this is optional)
Configuring power BI for the workspace; please follow the document here
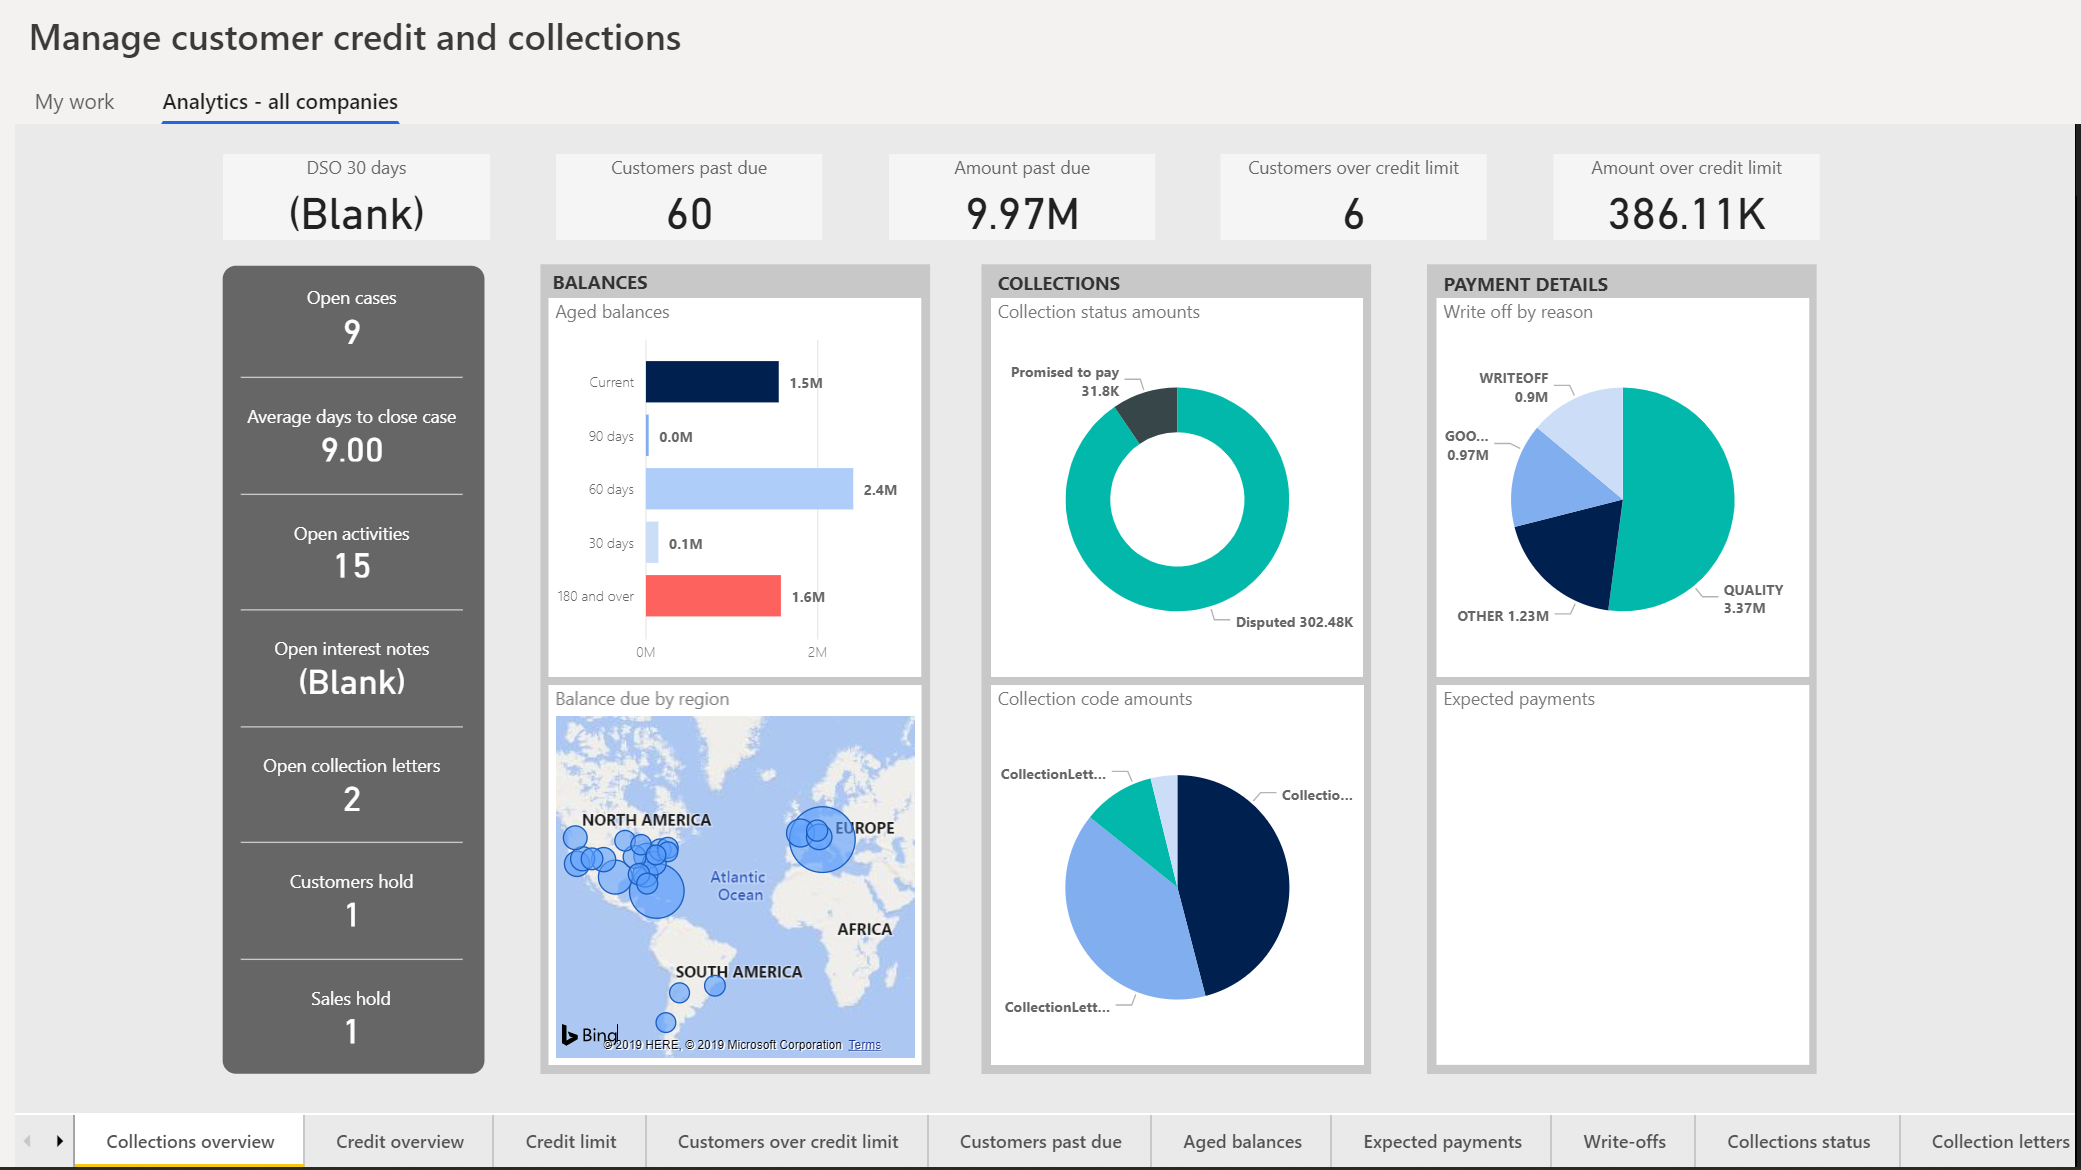
This is what you should have after the setup

Check the result
If you want to check the result, go to Workspaces > Customer credit and collections > Analytics all companies

Thank you for reading.